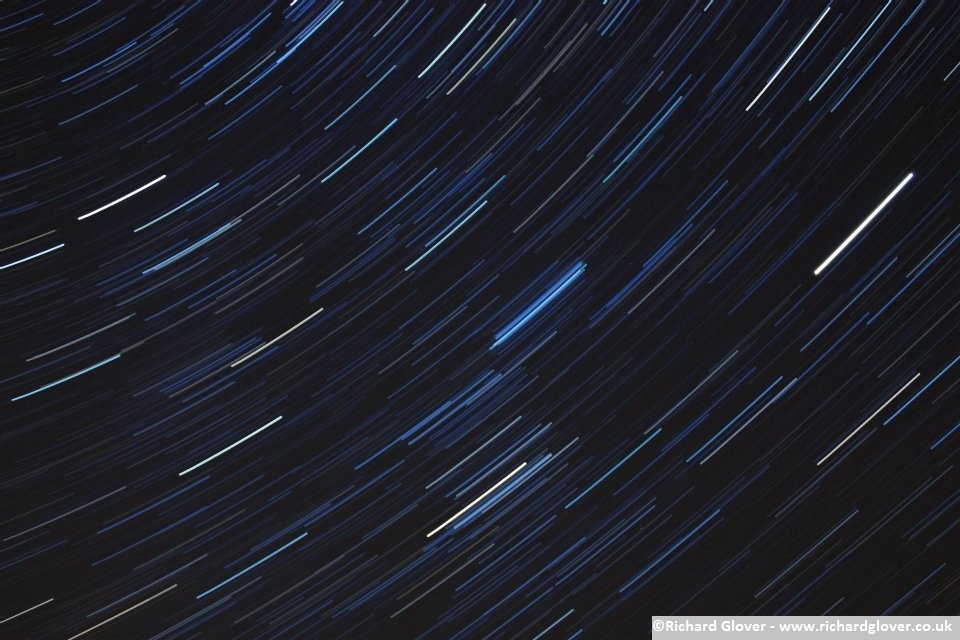
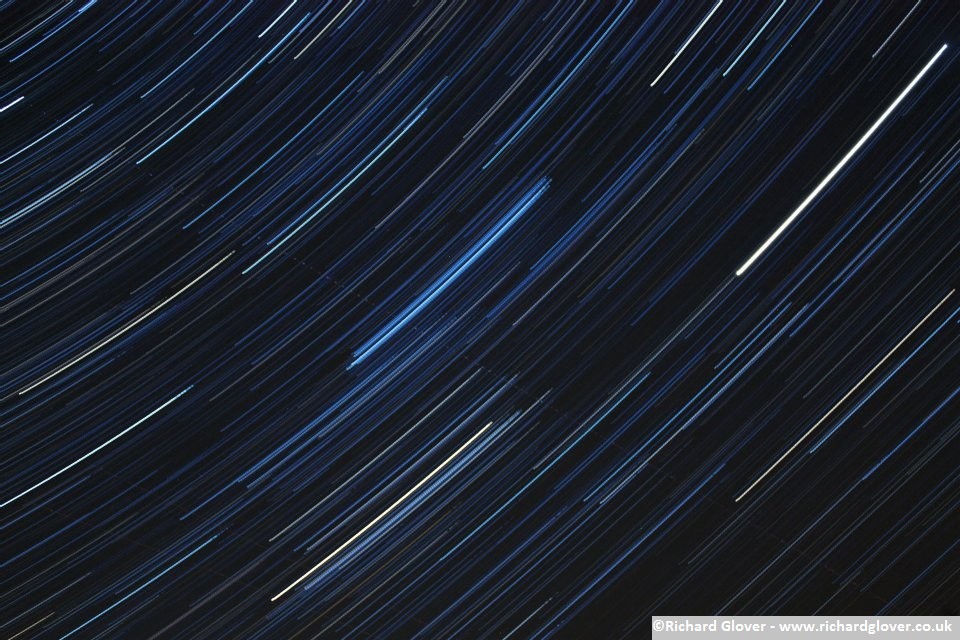
I’m no professional photographer, but I can use a camera. Last year I started taking pictures of star trails and recently with the hightened geomagnetic activity we thought we’d have a go at shooting the Aurora whilst it was here.

Depending on where you are and at what stage the Aurora is at will determine what you need. Over the last few days the ‘Kp index‘ of the Aurora has been fairly low, so the further south you are the dimmer the lights will appear. Ideally you need to be close to the earth’s magnetic poles but they’re still visable from further away. When we went out the green hue wasn’t really visible to look at, it just looked like a cloud in the sky near to the horizon, but with a digital SLR camera or high end compact you should be able to get some good results.
What you need
- A digital camera with Av (Aperture Priority), bulb or manual modes.
- A sturdy tripod
- Remote shutter release
I’ve got a Canon 450D, it’s a few years old but it does exactly what I need it to do, it has Av and bulb modes which means I can set the shutter to be open for 30 seconds or more to capture all the available light.
My tripod is a Velbon CX-540, it stands tall enough to not need the elevator up so it stays steady in the wind. Because you’ll be taking long exposures you need to minimise any movement, even a light breeze will cause a blur in your pictures.
Using a remote shutter release also minimises any movement of the camera, because you’re not pressing the button down on the camera body it eliminates the initial shake, I’ve got a cheap Hama CA-1 for my Canon which also lets me lock the shutter down to shoot continually, useful for taking photographs of star trails.
What now?
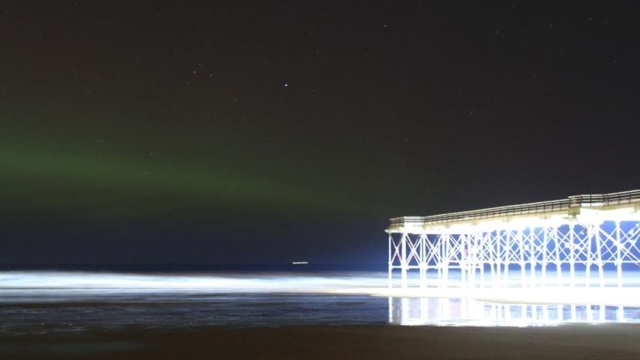
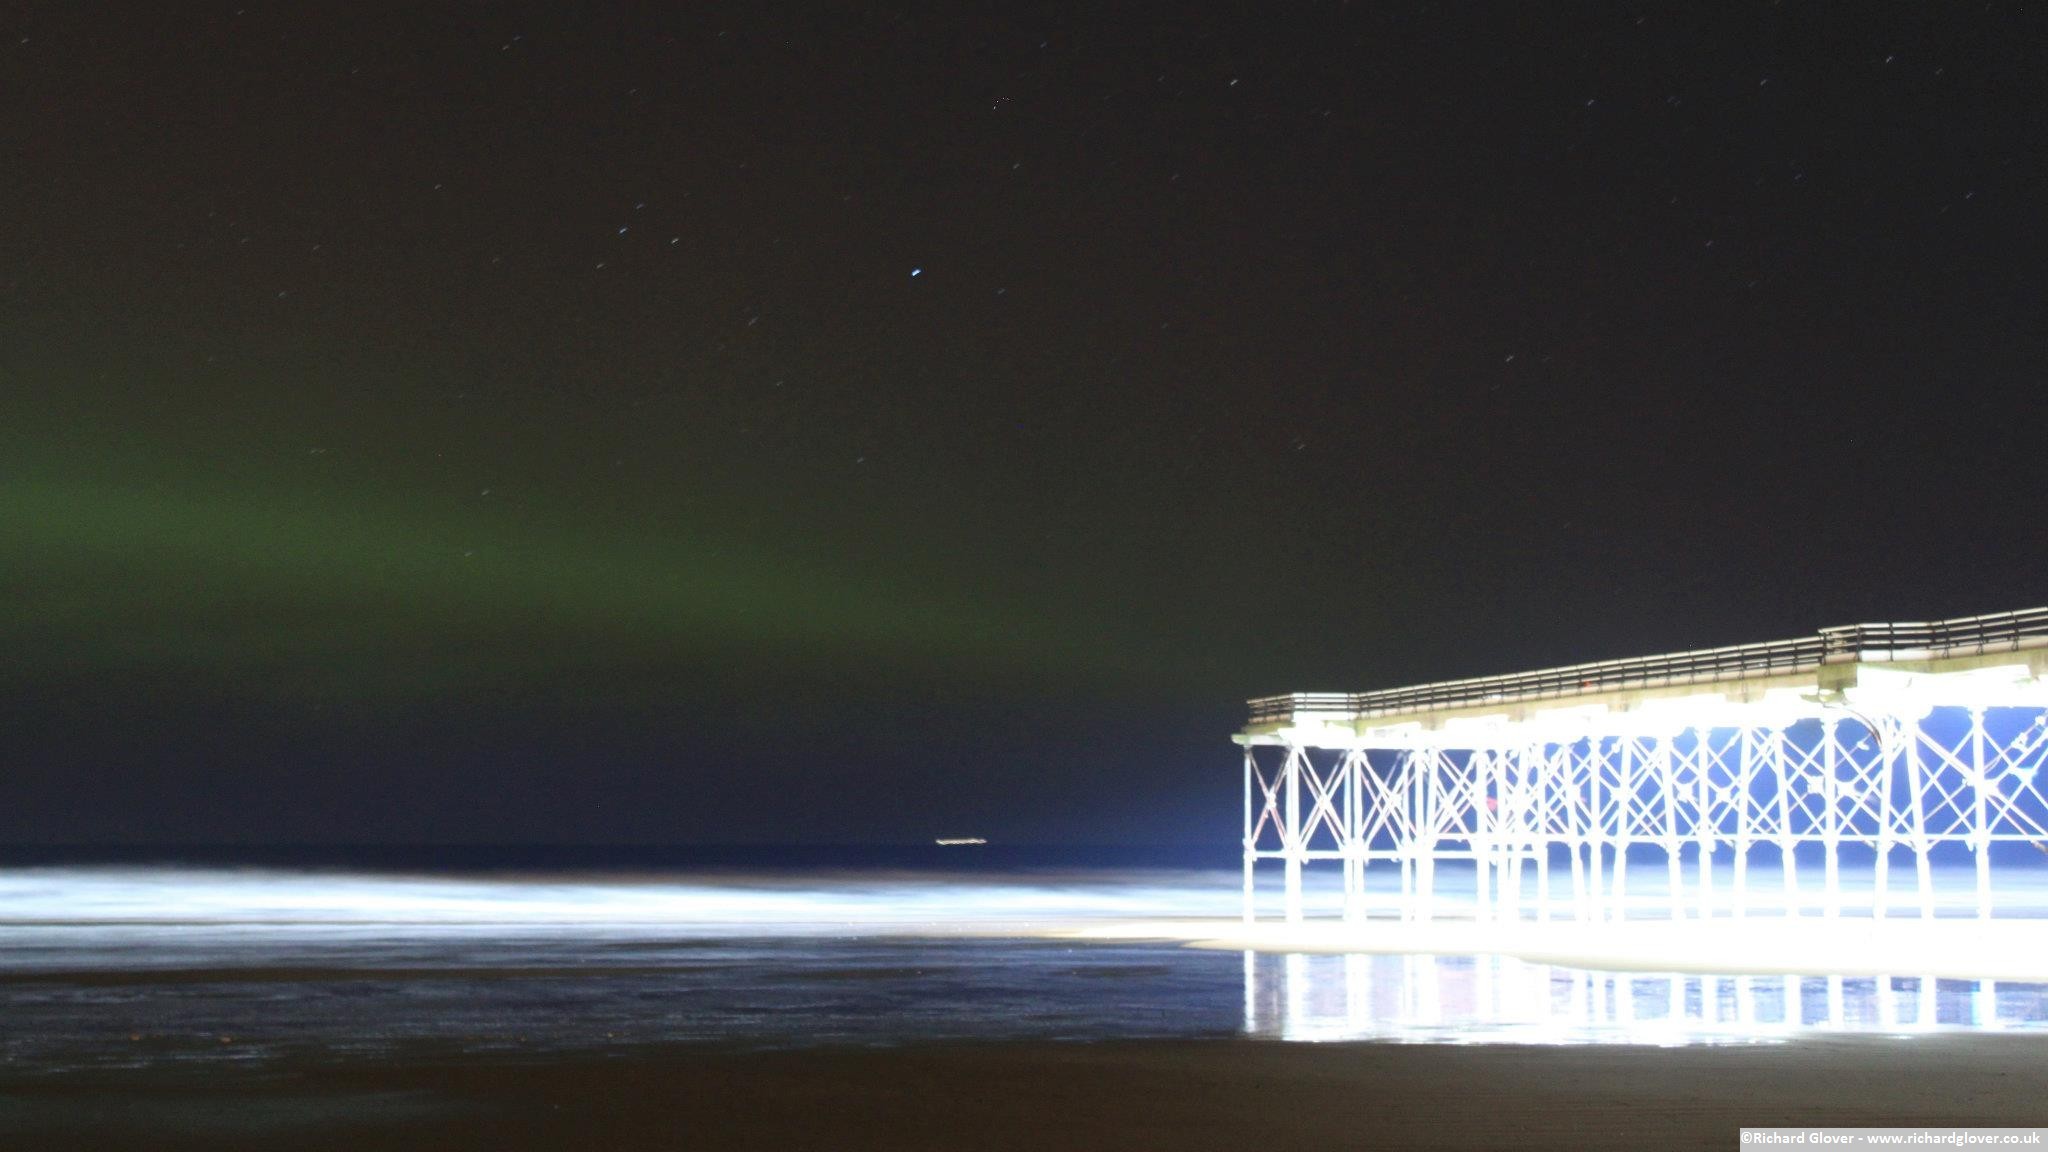
So you’ve got the kit, what now? If you’re in the north east then the Aurora will usually appear fairly low to the horizon due to our location, you’ll need a good clear view from a dark location away from any light pollution. We had a ride out to Saltburn, it’s far enough away from any large towns, after midnight the pier lights go off too so bear that in mind if you want to use the pier as a focal point of your pictures.
- Set your tripod up on some sturdy ground, away from any direct lights, if it’s windy don’t wind the elevator up. Point your camera to the north and towards the horizon, this will change the further north you go, as your eyes get used to the dark you should be able to at least see a faint smudge of the aurora so try and aim for that.
- With your camera in Av (Aperture Priority) mode set the aperture as wide as you can, this lets as much light in through the lens as possible, meaning you can use a lower ISO, you’ll end up with less noise on the final image. I had mine set between f/3.5 and f/5.6.
- Shutter Speed, set it as slow as possible, most cameras will go to at least 30 seconds and then have a bulb mode. 30 seconds should be long enough to capture a decent picture but if you have a remote shutter release in bulb mode the shutter will stay open as long as you’re holding down the button. Again, play around with a few test shots and see what works best for you.
- Set your ISO to either 400 or 800, again depending on the aperture of your lens this can change. The lower the f/ the wider the aperture opens meaning more light can hit the camera sensor. More light means you need a lower ISO sensitivity. It’s best to play around with these settings once you’re happy you have everything else set up.
- Set your White Balance, I used 4000K to keep the images a cold blue/white and to stop any extra light turning the sky orange.
- Manual focus, it’s dark, your automatic focus won’t be able to see anything to do this for you. If you can, try and focus on something towards infinity, be warned that some lenses including mine focus past infinity when you turn the focus ring so don’t just turn it all the way and hope for the best. I used some lights from the ships that were out at sea to set mine. You might want to tape the focus ring down once you’ve got it set just in case you knock it.
- Wrapped up warm and with your remote shutter release in hand, fire away!
Useful Resources