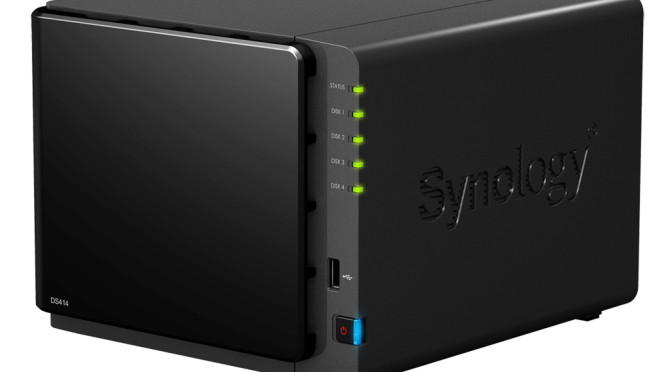
I’ve had a Synology DS414 NAS for a few weeks now, this post is about how to change the default settings of mdadm, the tool used to manage software RAID, to speed up the process of migrating between RAID levels.
I started out with 2 x 4Tb WD Red drives, they were configured to be a Synology Hybrid RAID (SHR) volume which dynamically changes the RAID level depending on the number of drives you assign to it.
With 2 disks it’ll run in RAID 1, mirroring the data held on the drives, add another disk and it’ll convert the volume to RAID 5, striping the data across the drives for more available space whilst adding parity information to cope with the failure of any 1 of the drives.
Adding the 3rd disk was quick and easy, the DS414 supports hot plugging devices so I just went ahead and put the new drive in, added the drive to the volume and it went ahead and expanded it.
The next part is a bit of a waiting game and depending on the size of the volume it can take a while. Because the DS414 uses software RAID, where there’s no dedicated RAID hardware, it uses the CPU of the device which isn’t the fastest.
I left it overnight and late the next day it had only done about 30%, whilst expanding volumes data is essentially at risk as the array is not redundant. The longer the process takes the longer you’re not protected against disk failure.
There are a few things you can do to speed up the process, SSH to your NAS as admin and enter the following commands (change md3 to your device):
# echo 100000 > /proc/sys/dev/raid/speed_limit_min

# echo 32768 > /sys/block/md3/md/stripe_cache_size
The first command increases the minimum “goal” rebuild speeds for when there’s non-rebuild activity. On my DS414 I never saw this go above 90000KiB.
The second command increases the stripe cache size which increases sync performance by allowing a larger cache to synchronise the read and write operations on the array. This is only available for RAID 5 volumes and it does decrease the amount of available system RAM but I never saw 100% utilisation on the DS414.
You can monitor the process with the following command:
# cat /proc/mdstat
Once I’d changed these settings the expand operation only took another 12 hours, a total of about 35. It should also work for speeding up volume consistency checks as they both read the same config. Remember the commands above will only set those options until the NAS is rebooted.
Thx for the post. It looked like DS2414+ was going to take about 1 week for the parity check ( 8 drives atm, 4TB each). Made some changes (a bit more conservative than your suggestion, first one to 50000, the second to 8192), and now it looks like it will take about a day to finish.
You’re welcome!
DS2414+ or DS2413+?
I’d be inclined to push the values fairly high to speed up the check, the DS2413+ has double the RAM and a faster CPU than the DS414!
Actually, its the RS2414+, sorry. It has a dual-core atom cpu and 2GB ram. With 8 drives and 8192 cache size, it’s hovering around 500MBs total. Before the change, it was set to 1024 cache size, and it was using about 180 MBs. There’s certainly some headroom since its only using about 25% of the RAM.. I’ll think about pushing it a bit higher…
Thanks for this post… learned a bit about my Synology core 🙂
Have a new DS1813+ and before the suggested settings above, reshape and recovery operations were taking very long. I have them down to within 10 hours now.
Using the max 32768 for RAID5 ops and the “_min” to 100,000
Cheers!
Thank you very much for this! I’m just beginning to learn my DS412+. Is there any stability concerns by changing any of the default settings?
As far as I can tell there are no stability problems with the settings above, the good thing about changing these options is that when you reboot they all go back to the defaults!
Nick,
While the above settings are benign enough, not taking care to keep your memory from being totally exhausted is important. Specifically, make sure that you don’t accidentally allocate more memory than the OS has to work with. For example, assigning 32K of RAM to two or more RAID5 stripes could put the system in a unstable condition causing it to fail. That happened to me more than once. It is advisable that you monitor the recovery operation and make changes accordingly.
What I did was make changes to the RAID that was being worked on. When that finished and moved to another stripe, I then de-allocated the memory from the previous stripe back to 1K and added the 32K to the new one in progress. That kep the system at or below 75% of used memory and stable.
Throughout the entire process, and eventually I have done this quite a few times, I was able to use my array as if nothing else was happening. As far as my Windows and Mac and Linux hosts accessing data via SMB via the network, nothing was happening.
Good luck.
Thanks a lot for this post… what looked like a week, now may finish within a day. This should be baked into the OS! DS415+ with 3 x 6TB drives from a 2bay x 6TB DS212.